Creating Stunning Photos with HDR (High Dynamic Range) Imaging
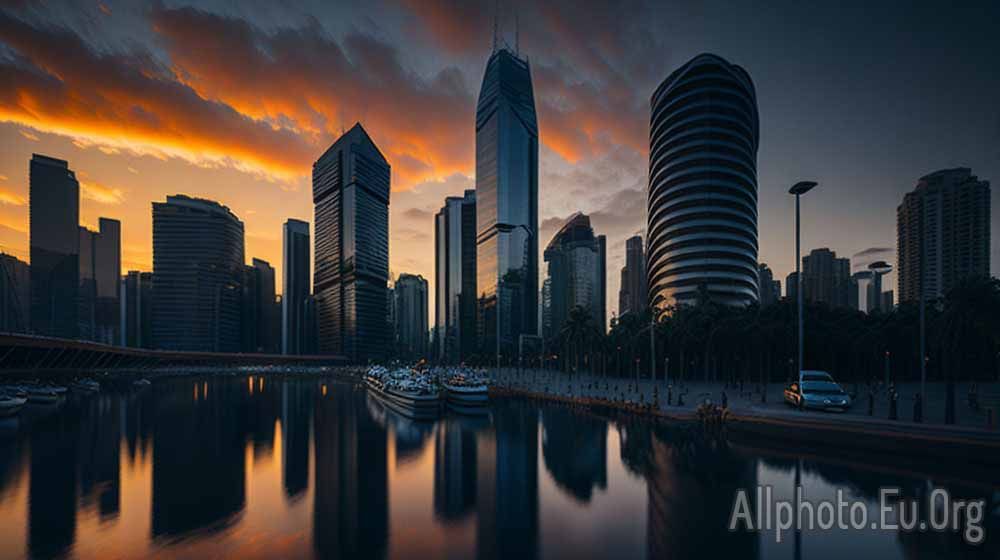
HDR (High Dynamic Range) imaging is a technique used in photography to capture a wider range of light and color than what a traditional camera is capable of. By taking multiple photos at different exposure levels and blending them together, HDR imaging can create stunning, realistic photos that accurately reflect the beauty of a scene.
In this article, we’ll explore the basics of HDR imaging, how to create stunning photos using this technique, and some tips and tricks to optimize your HDR workflow.
Understanding the basics of HDR Imaging To understand HDR imaging, it’s important to first understand dynamic range. Dynamic range is the range of light and color that a camera can capture in a single image. A camera with a limited dynamic range can only capture a narrow range of light and color, resulting in photos that are either too bright or too dark.
HDR imaging works by taking multiple photos of the same scene at different exposure levels, typically three or more. One photo is taken at the normal exposure level, one photo is taken at a lower exposure level to capture the highlights, and one photo is taken at a higher exposure level to capture the shadows. These photos are then combined using specialized software, such as Adobe Lightroom or Photomatix, to create an image with a wider dynamic range than any of the individual photos could capture.
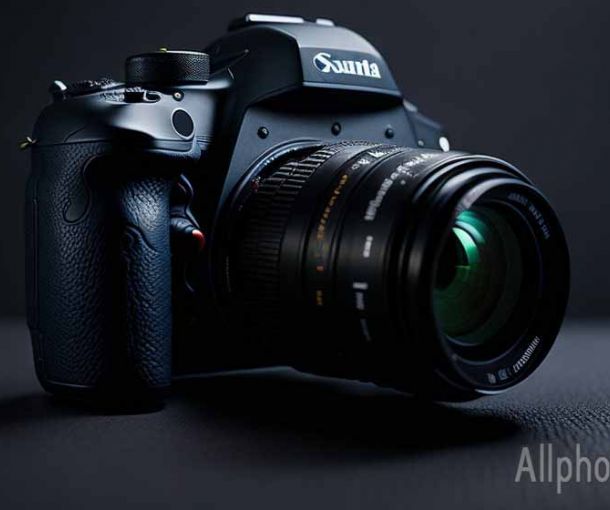
Creating Stunning HDR Photos To create stunning HDR photos, it’s important to start with the right equipment. A camera with manual controls, such as a DSLR or mirrorless camera, is essential for capturing the multiple exposures needed for HDR imaging. A tripod is also essential for keeping the camera stable and preventing any movement between shots.
Once you have your equipment, follow these steps to create stunning HDR photos:
Step 1: Set up your camera on a tripod and compose your shot. Take note of any elements in the scene that may cause movement, such as trees or clouds.
Step 2: Set your camera to manual mode and take a test shot at the normal exposure level. Adjust your shutter speed, aperture, and ISO until you get the desired exposure.
Step 3: Take multiple shots of the same scene at different exposure levels. Typically, you’ll want to take one shot at the normal exposure level, one shot at a lower exposure level, and one shot at a higher exposure level.
Step 4: Import your photos into your HDR software of choice. Adjust the settings to get the desired result. Many HDR software programs have presets that you can use as a starting point, such as natural, realistic, or artistic.
Step 5: Once you’ve adjusted the settings, export your photo and make any final adjustments in your photo editing software of choice.
Tips and Tricks for Optimizing Your HDR Workflow To optimize your HDR workflow and create stunning photos every time, consider the following tips and tricks:
Tip 1: Use a remote trigger or self-timer to prevent camera shake between shots.
Tip 2: Shoot in RAW format to give you more flexibility when processing your photos.
Tip 3: Experiment with different exposure levels to find the right balance for your scene.
Tip 4: Use a polarizing filter to reduce glare and reflections.
Tip 5: Be mindful of movement in the scene, such as clouds or water, as this can cause problems when merging the photos together.
In conclusion, HDR imaging is a powerful technique that can help you create stunning photos with a wider dynamic range than traditional photography. With the right equipment and some practice, you can master HDR imaging and take your photography to the next level. So grab your camera, tripod, and HDR software of choice and start capturing the beauty of the world around you!
Additionally, it’s important to pay attention to the overall composition of the photo. While HDR imaging can enhance the light and color in a scene, it won’t necessarily improve a poorly composed photo. Consider the rule of thirds, leading lines, and other compositional techniques to create a well-balanced and visually pleasing photo.
Another tip is to avoid overprocessing your HDR photos. While it’s tempting to crank up the settings to create a dramatic effect, overprocessing can result in a photo that looks unnatural and unrealistic. It’s important to find the right balance between enhancing the light and color in a scene and maintaining a natural look and feel.
Lastly, don’t be afraid to experiment with different types of HDR software and settings to find the right workflow for you. There are many HDR software options available, each with their own strengths and weaknesses. It’s worth taking the time to try out different programs and settings to find the ones that work best for your style of photography.
In conclusion, HDR imaging is a powerful tool for creating stunning, realistic photos that accurately capture the beauty of a scene. By following these tips and tricks, you can optimize your HDR workflow and create photos that stand out from the crowd. So grab your camera and start experimenting with HDR imaging today!
Tags
Latest Articles
Most Read
All Tags
Subscribe
Donate
Please consider supporting our efforts.
© 2023 All-Photo.Cf All rights reserved.
